One of the many things you may want to do with your WordPress website is use email to provide update notifications, newsletters to users, notify of security breaches, etc. The default WordPress email process utilises PHP’s mail function which won’t work for our purposes. There are many SMTP/email plugins but for the purposes of this tutorial I will be using one called WP Email SMTP which you can download for free from WordPress.org.
This tutorial assumes you already have Office365 setup and your DNS records set.
Configuring SMTP on WordPress
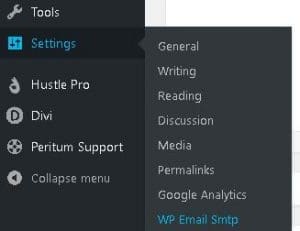
Once installed, go to the SMTP settings under Settings->WP Email SMTP
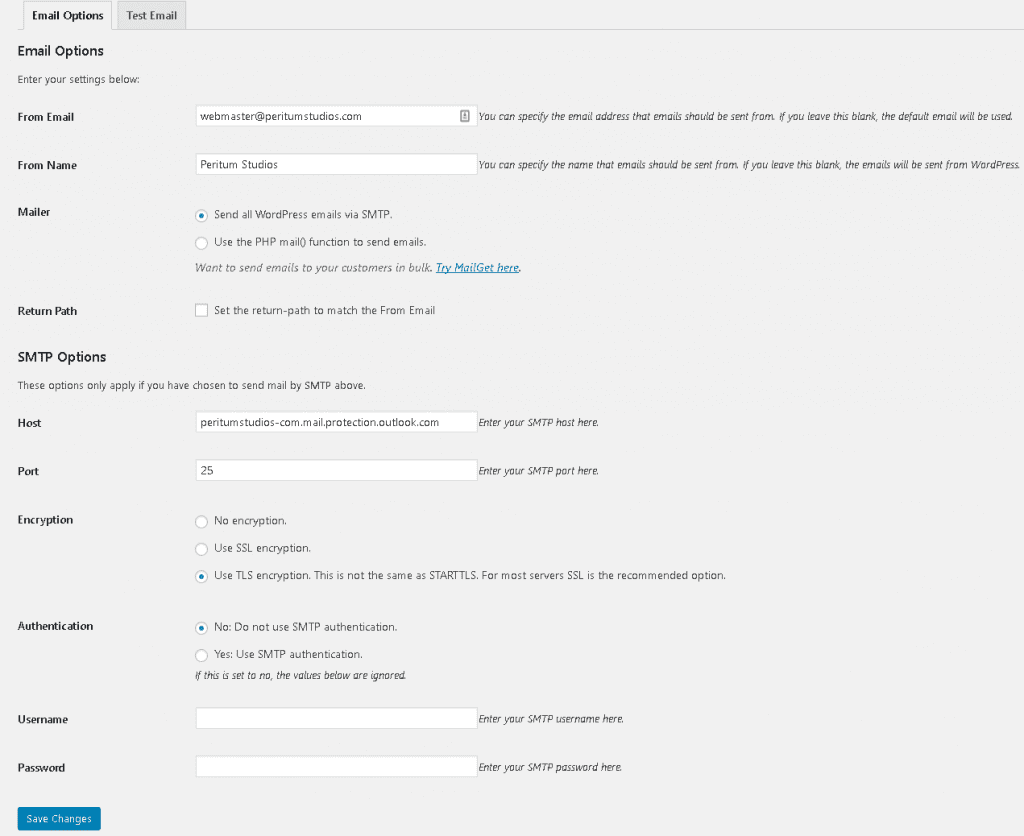
You will need to enter your SMTP details:
From Email: Where you want your emails to come from
From Name: The name you want displayed when your emails are received
Mailer: Make sure “Send all WordPress emails via SMTP.” is selected.
Return Path: It is up to you whether you want the same email to be the reply email.
Host: This will be your domain name, replacing the full stops with dashes, with an Outlook address. eg. yourdomain-com-au.mail.protection.outlook.com
Port: Put port 25 here as we will not be using username authentication.
Encryption: Select “Use TLS encryption” so all emails that are sent are secure.
Authentication: Select “No: Do not use SMTP authentication” as we will not be using username authentication.
Once you have entered all required details, click “Save Changes“.
Setting up SMTP Relay on Office365
Now that we have everything setup on the WordPress side, we need to setup Office365 to accept the emails we send via WordPress. There are 3 methods of sending emails via SMTP for Office365:
- Authenticate with an Office365 account
- Send mail directly Office365 (only sends within the same domain – not to the broader internet community)
- SMTP relay
Option 1 is the recommended method, however I discovered that emails could send outside of the domain, but not within it. This guide explains how to setup Option 3. For setting up authentication, see the Office support article.
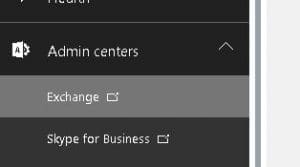
To setup an FTP relay, you will need to login to your Office365 Admin center. Once logged in, click on the “Admin centers” drop down on your left navigation bar and select “Exchange“.
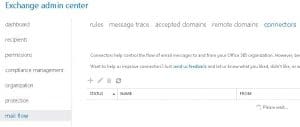
Once on the Exchange admin center page, go to mail flow->connectors and click the + icon once the page loads.
You’ll be presented with 2 drop downs, select the following:
From: Your organization’s email server (ie. your WordPress website)
To: Office365 (Your actual email server)
Click next and insert a name for your connector, I went with “Peritum Website SMTP“. The description is optional and you can leave the checklist as is.
Next we will be selecting one of two methods of authentication:
Select “By verifying it is coming from your server’s IP”
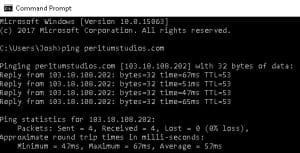
If you do not have an SSL certificate, you can verify your server by entering its IP address. If you do not know your server’s IP, you can easily find out by pinging your hostname. Open up Command Prompt (on Windows) or Terminal (on Mac/Linux) and enter “ping yourdomain.com“. The set of 4 numbers after “from” is your server’s IP address. Insert your IP address by clicking the + and entering the value.
You will now need to update your server’s DNS records with this IP. If you currently have Office365 setup correctly, you’ll have a TXT record that displays the following:
- v=spf1 include:spf.protection.outlook.com ~all
You will need to update this to container your IP so Office365 doesn’t mark your mail as spam, eg.
- v=spf1 ip4:255.255.255.255 include:spf.protection.outlook.com ~all
Testing the SMTP Server
Now that we have setup everything in WordPress, Office365 and our DNS records, we are ready to test if our emails will send. Fortunately there is a testing method included in the WP Email SMTP plugin.
Navigate back to the WP Email Smtp page in your WordPress Admin. Select the Test Email tab and enter an email to send to. Make sure you test at least 2 emails, 1 inside the organisation (ie. the domains you have registered in Office365) and 1 outside the organisation (eg. Gmail).
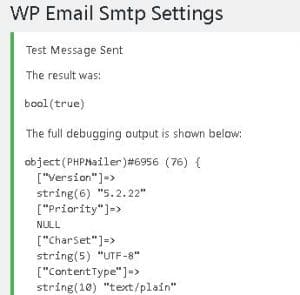
That’s it, you should see a screen similar to the below. Congratulations on setting up your email relay!
- Your Blog Posting Checklist - August 5, 2019
- Using Office365 to send Emails in WordPress via SMTP - September 6, 2017


